Showing posts with label diy gift. Show all posts

Tuesday, December 23, 2014

DIY: Hand Painted Coffee Mugs

The last DIY project I'm working on are hand painted coffee mugs. This is the easiest and fastest project I think. Now I've seen quite a few different tutorials on how to do this so I just took a few tips from each tutorial and wrote them here. I'm so happy with these and I can't wait to make more mugs for birthdays and holidays.


Let's get started! 

Monday, December 22, 2014

DIY: Handmade Etched Wine Glasses

For your wine loving friends I bring you this super fun idea. Etched wine glasses. I made a set of four for my friend for Christmas (but I'm going to to show you two of them to keep the rest a surprise.) This was really easy and I cannot wait to make more of them for myself!


Let's get started!


Supplies needed:
Armour Etch (I had to order mine online because it wasn't stocked in any stores)
Wine Glasses (these are from Target)
Masking Tape
Stickers (I used them instead of stencils)
Latex gloves
Paintbrush


Step 1: Make sure glass has been washed and dried. Place sticker where you want it and cover the surrounding areas with masking tape so the Armour Etch won't run and make a mess. 


Step 2: Put on latex gloves and begin to cover the entire area with the Armour Etch. 


Step 3: I've seen a lot of different tutorials varying in times to leave the Armour Etch on. I found that it looks best if left on for 10 minutes. 


Step 4: Rinse off the Amour Etch under cool water until the cream is completely gone. After, wash the glasses and dry them. 


Step 5: Pour some wine and enjoy your brand new glass!


Thanks for reading!!
xoJess


Check out my previous post: 12 Days of Tartemas!


Come hang out with me on social media! 


Monday, December 15, 2014

DIY: Monogram Chalkboard

The second DIY project is such a fun gift to give! It's very personalized and I even made one for myself. This chalkboard will not only be a cute Christmas gift, but a great birthday gift too. This took a while, but it is so easy to make. Let's get to it! 


Supply List: 
  • 13 inch, wooden letters (mine is from Joann's Fabrics)
  • Challkboard paint (There are tons of brands, I used Martha Stewarts)
  • Paint brush
  • Chalk
  • Ribbon
1) Sand the edges of the letter to smooth any rough sides. 

2) Paint on coat all over the letter and let dry for 1 hour. 

3) Paint second layer of paint on letter and let dry for another hour. 


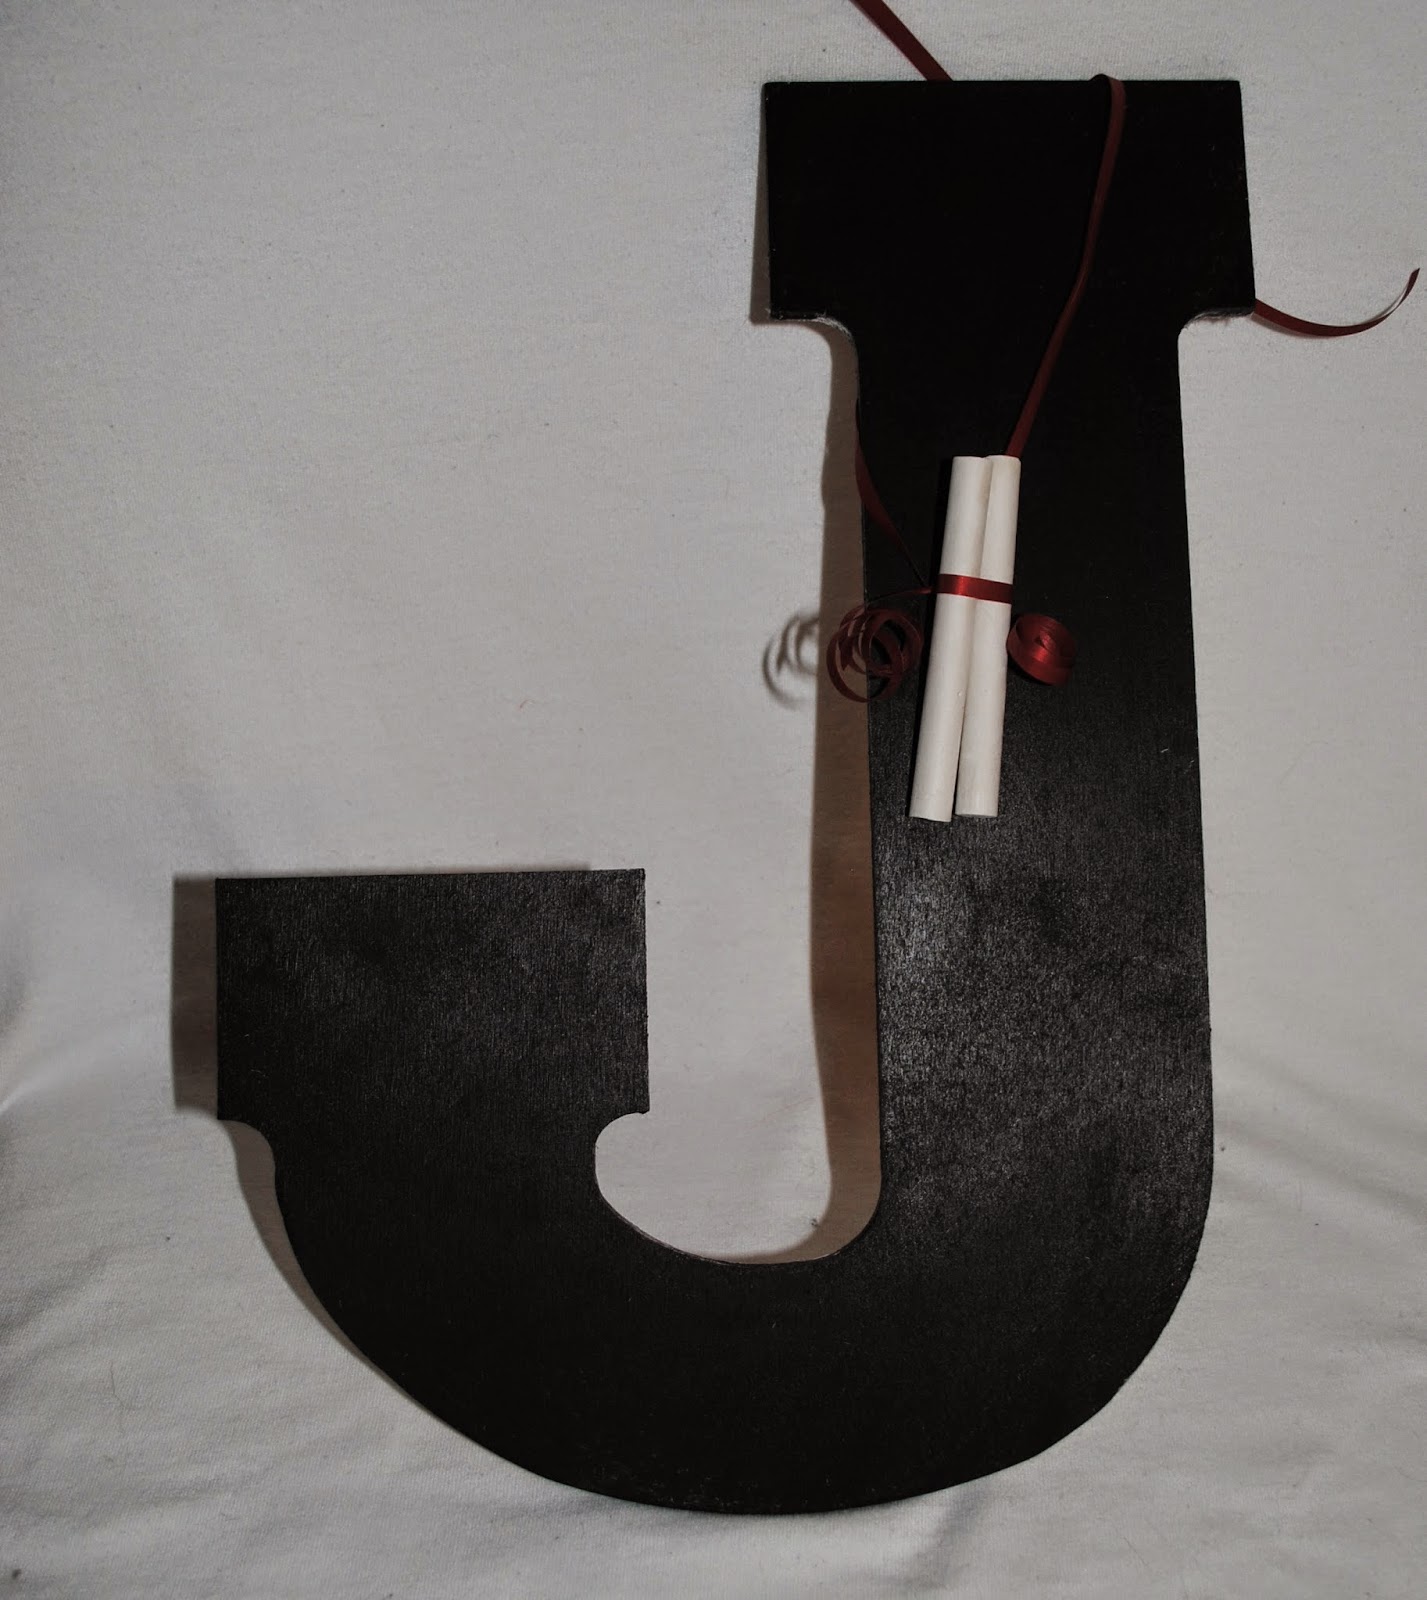
4) While second coat is drying, it's time to put the chalk in a cute little package. I cut about 7 inches of ribbon to tie the chalk together. 


5) After drying, it's time to condition the chalkboard. All you have to do it rub chalk all over the letter then wipe it off. 


6) After the chalkboard is wiped clean you are ready to show it off. I'll be hanging mine next to my desk! 


Let me know if you try out this DIY project and who you are going to gift it too. I also made one for my sister as well as a couple friends. Happy Crafting!


Thanks for reading!!
xoJess


Check out my previous post: Fuzzy Sweaters and Suede Boots


Come hang out with me on social media! 


Friday, December 5, 2014

DIY: Mason Jar Candy/Candle Holder

Happy December Everyone! I can't believe we are here already. This year has really flown by! Christmas is just around the corner and this year I decided to get crafty and make an assortment of gifts for my friends (and a few for myself) who live quite far just to let them know how important they are to me. There will be a few different gift ideas in the coming weeks that are of course simple, but so adorable.

Today I'm going to show you how I made these super easy candle/candy holders. Now when I send the ones I made for my friends, I'm going to be filling them with Christmas candy and of course a little Yankee Candle tea light for after the candy is gone. I got my supplies from Joann's Fabrics and Michael's Craft Store, but you can pretty much find this stuff anywhere.